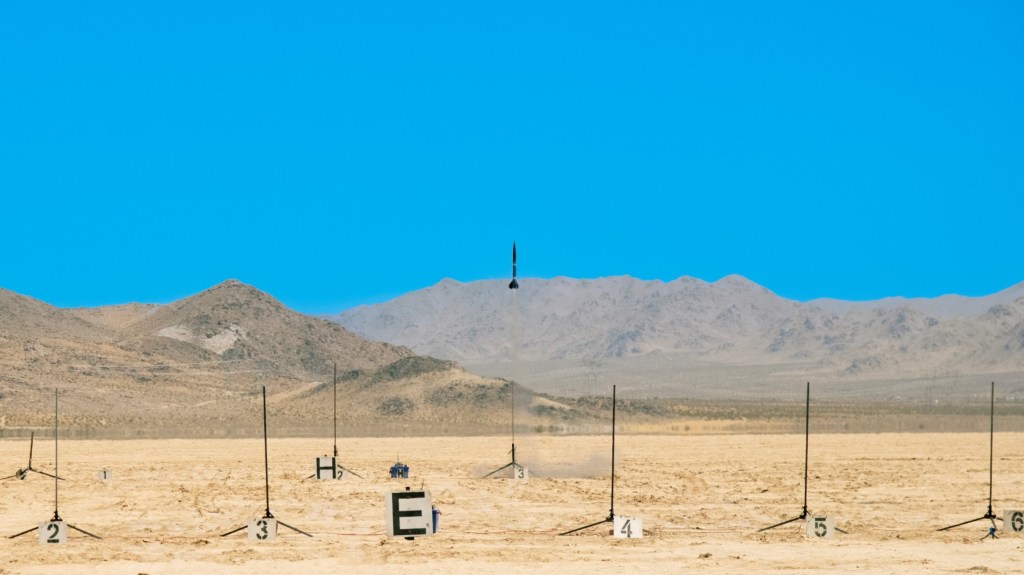
After 6-months of work, welcome to Pleiades 1 and thus welcome to the team’s first rocketry report! The first of likely four Pleiades launches this year, we have been busy not just planning Pleiades 1 but laying down our foundations for much more to come.
Education is one of our team’s priorities, so we are writing these reports for two reasons:
- Transparency: To share our progress, decisions, and results.
- Education: To document what we learned from our successes and mistakes so others can build on our experience.
Future articles will explore some of our decisions in greater detail, including our timeline, motor selection, simulations, construction process, and launch-day experiences.
Roadmap
This article provides a high-level overview of how we progressed from our initial goals to the post-flight review of Pleiades 1.
We will cover:
- Our goals and constraints
- Selecting a rocket
- Selecting a motor
- Building the rockets and choosing a payload
- Preparing for launch
- Launch day
- Results and next steps
Phase 1: Goals and Constraints
When we first started we really only knew two things, we wanted to build larger rockets and to do so, we would need to find a way to do that legally. Sounds as good of a goal as any! So we started looking around and found that there was a system of getting high powered rocketry certified. This includes Level 1 for H and I class motors. Luckily, there are two associations that do this certification process, Tripoli and National Association of Rocketry (NAR). Through them we learned how we would accomplish our first step, getting level 1 high powered rocketry certified.
This is when we learned the major goals and constraints for our first step. In order to pass Level 1 certification, we needed to:
- Build our own individual rocket using an H or I class motor.
- Have the rocket inspected by a qualified Level 2 NAR or Tripoli member in good standing before and after the launch.
- Successfully launch and recover the rocket.
- Successfully deploy the rocket’s recovery system.
- Ensure that the rocket survives the flight.
With this information, we had a starting point and some clear goals. Now we just had to figure out exactly how to accomplish them.
Phase 2: Rocket Selection
Now we had reached the real meat of the project, the rocket itself!
This part was fairly easy, all things considered, although it took about three meetings for us to make a decision. We are sure you can do this MUCH faster but alas our full time jobs beckoned a lot during this time period.
Our biggest questions at the beginning of this phase were:
- Should we build a custom rocket or use a kit?
- How many rockets should we build? In other words, would everyone pursue certification, or only some of us?
- If we used a kit, which kit should we choose?
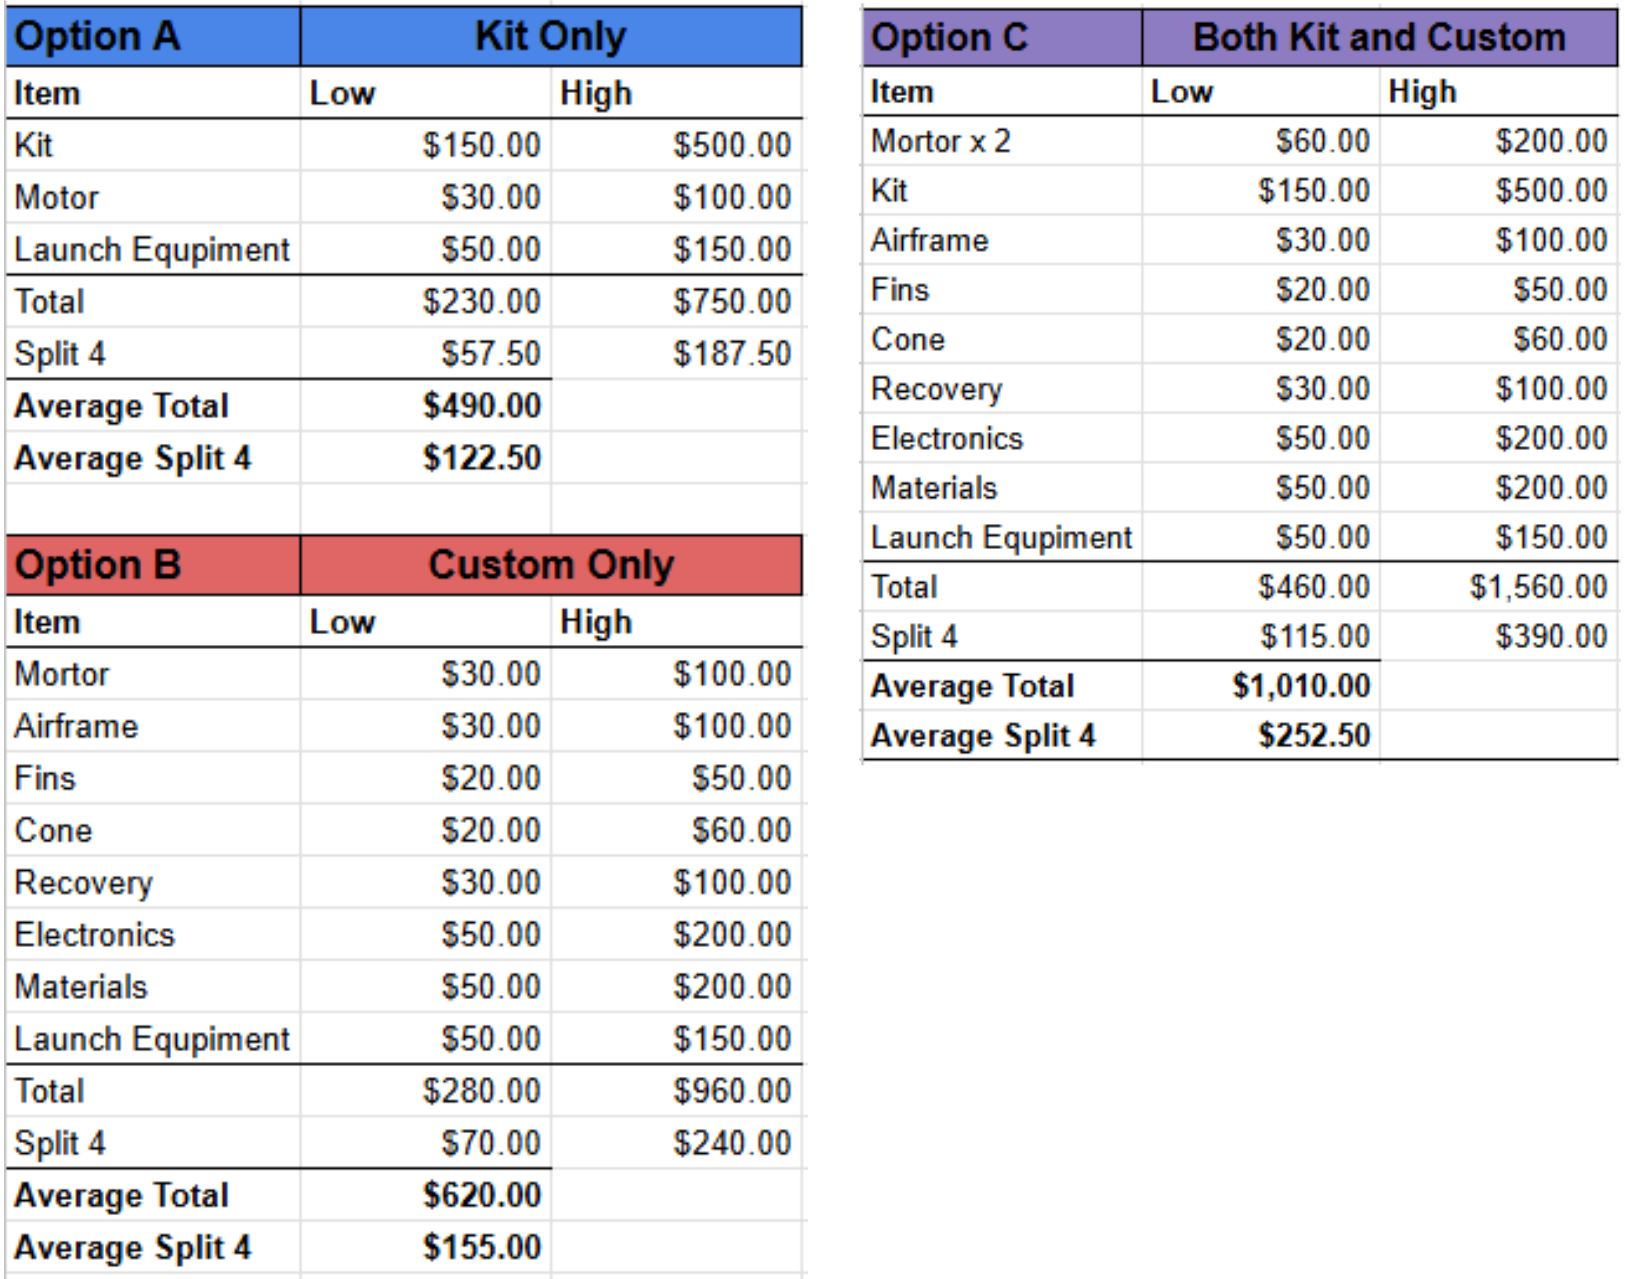
When deciding between a custom rocket and a kit, there were two main factors: time and cost. Since this was a secondary project for us, alongside our full-time jobs, we needed to make sure the timeline and workload were manageable. The second factor was cost, because, well, it is always cost.
We looked into three options:
- Kit only
- Custom rockets only
- Both a kit and custom rockets
Here is a screenshot showing our early cost estimates:
For the sake of brevity, we will save details such as our timeline calculations for a future planning article.
Based on the estimated costs and the amount of time available to us, we selected the kit-only option. Another factor in this decision was that we wanted to ease ourselves into rocketry. None of us had built a high-powered rocket before and we did not want to burn ourselves out on our first project. Our first custom rocket would have to wait.
At this point, we thought that only two of us would pursue certification during this launch campaign. That changed when we started looking at rocket kits. We began by looking at the Level 1 certification kits available from Apogee Rockets. We eventually found that the Zephyr was available in a five-pack, which lowered the cost per rocket. It also gave us a backup rocket in case one was damaged during construction or launch.
That made the Zephyr a good fit for our team and allowed all 5 of us to be able to incur the cost of all of us getting certified.
Phase 3: Motor Selection
Now that we had our rocket kit figured out, we had to figure out which motor to use for it. This ended up being harder and a longer back and forth than we expected. We will have an article dedicated to how exactly we ended up selecting the motor but for now we will cover the highlights.
Originally we thought this would be straight forward since Apogee Rockets does have a list of recommended motors we could use for each kit. However, to be safe, we did what Apogee recommends and used Rocksim Pro to simulate them with the Zephyr model. When we did this and used Rocksim’s Recommended Motors section, we found something interesting, a disagreement. Funny enough, such as the case of the H73 motor, it appears on the website’s list but “Not Recommended” in the sim. This very likely could be due to error on our side but the lesson was clear: make few assumptions.
This lesson added a week to our work but from here we would compare the list of recommended rockets on Rocksim to the recommended list from Apogee. From here we reached another snag, single use or motors that needed a casing? We ended up debating this for a call and made the decision to use single use for our certification flight due to it being easier, faster, less complex, and less risky for our first high powered rocketry flight. This decision refined our list more and had also made the decision to use an H class and not I class motor for the same reason.
Finally we had a short list and it was time to vote based on that list and availability. With all of these factors in play we chose the H219-14A. And with that we had our motors, it was now time to build and decide on a payload.
Once we had selected our rocket kit, we had to figure out which motor to use. This ended up being a longer and more complicated process than we expected.
We plan to write a separate article explaining exactly how we selected the motor, but for now, we will cover the highlights.
Originally, we thought this would be fairly straightforward because Apogee Rockets provides a list of recommended motors for each kit. To be safe, however, we followed Apogee’s recommendation and used RockSim Pro to simulate the Zephyr with several different motors. When we did this, we found something interesting: the recommendations did not always agree. For example, the H73 motor appears on the recommended motor list on the website but is marked “Not Recommended” in the simulation software. This could very likely have been caused by an error on our side, but the lesson was clear: make as few assumptions as possible.
Investigating this discrepancy added about a week to our work as we decided to go with what the simulation told us. From there, this led us to another question: should we use a single-use motor or a reloadable motor that required a separate casing?
We ended up debating this for an entire call before deciding to use a single-use motor for our certification flights. It was easier, faster, less complex, and less risky for our first high-powered rocketry flight. For the same reasons, we decided to use an H class motor rather than an I class motor.
Eventually, we had a shortlist of motors and it was time to vote based on the simulation results, project requirements, and motor availability. With all of those factors in play, we chose the H219-14A. With that decision made, we had our motors. It was now time to build the rockets and decide whether to include a payload.
Phase 4: Build and Payload
As discussed earlier we had decided to use the Zephyr rocket kit to simplify our path to success. Due to being a kit, it was actually very easy to put together especially after watching the videos on Apogee’s YouTube and reading the instructions one time through.
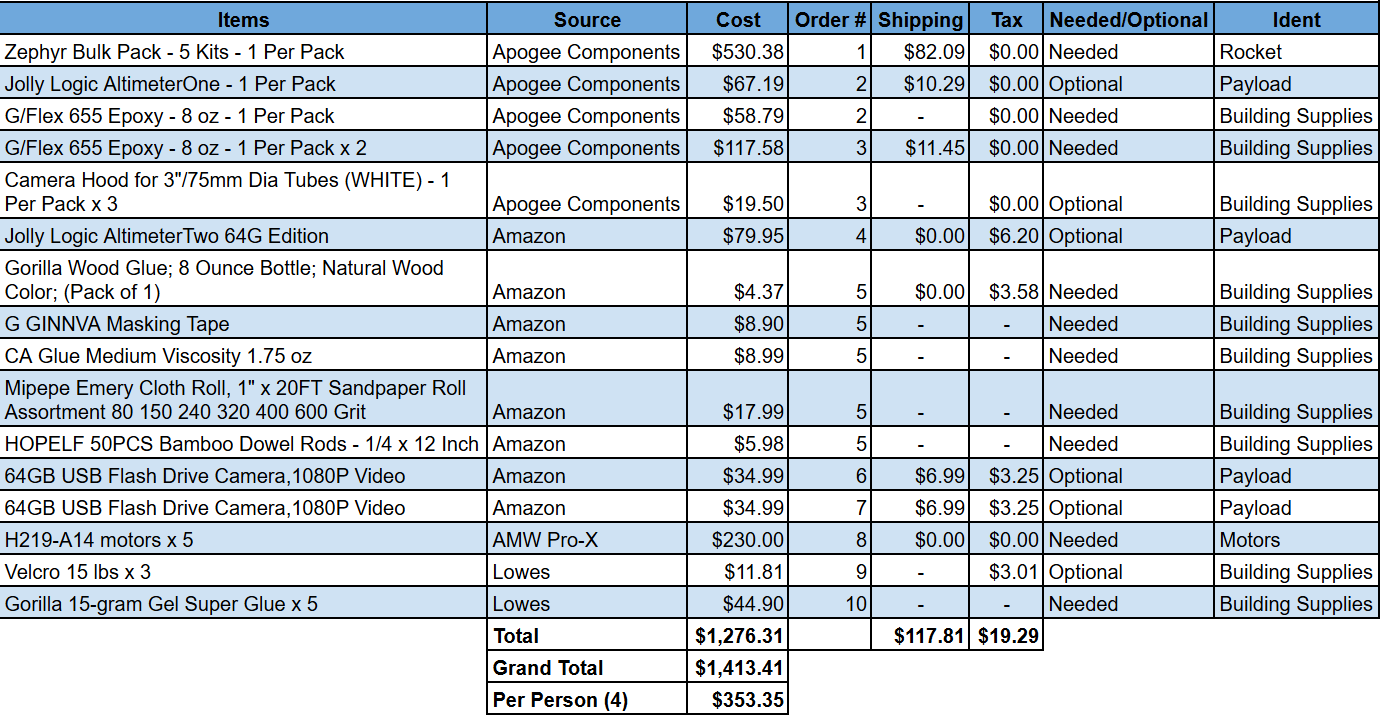
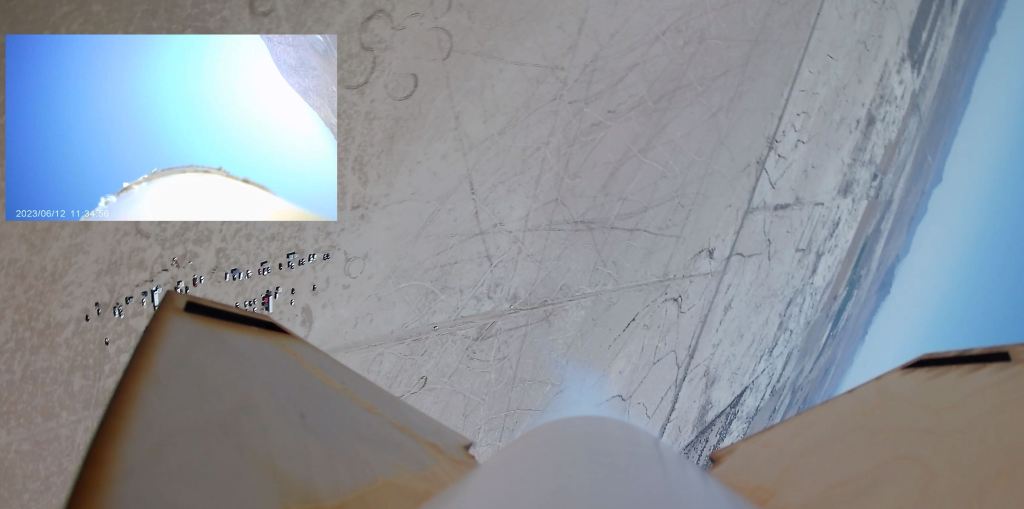
As far as payload, this kit and the want for simplicity did mean payload came second to passing the certification so the kit did not have a payload bay. However, being the nerds we are, we did decide to get some data but only one rocket would carry the payload. This would be Gary’s rocket which would carry a small USB camera and a Jolly Logics AltimeterTwo. This data and video feed would allow us to compare our simulated data and learn more details from a real life flight, which would be critical to the success of larger, more complex rockets later.
The image below shows a breakdown of the parts and their costs for our team of five.
Phase 5: Launch Preparation
Now that we had built our rockets, completed our simulations, and understood what would be required for certification, we turned our attention to the logistics of the trip.
We will not go into too much detail here, but this was when we decided:
- Which hotel we would stay at
- When we would arrive and leave
- Who was bringing each piece of equipment
- When we would complete our final studying
- What needed to be printed
- Who was responsible for printing each document
- What each person would be responsible for on launch day
Perhaps this planning process deserves an article of its own someday.
Launch preparation took three meetings and many additional hours outside of those meetings. We checked off our preparation lists, looked for missing items, and briefed each other on our own responsibilities for launch day.
Our goals were simple:
- Keep everyone safe throughout launch day.
- Be as prepared as possible.
- Make sure that if someone did not know something, they knew whom to ask or where to find the answer.
- Get certified.
Phase 6: Launch Day
This section deserves a section of its own and will get an article from the perspectives of the three members who flew that day.
With that said to sum that day up, it was a day full of stress, fun, and an incredible sense of both friendship and accomplishment!
What are the results?
Now the fun part: what was the result of all of this work?
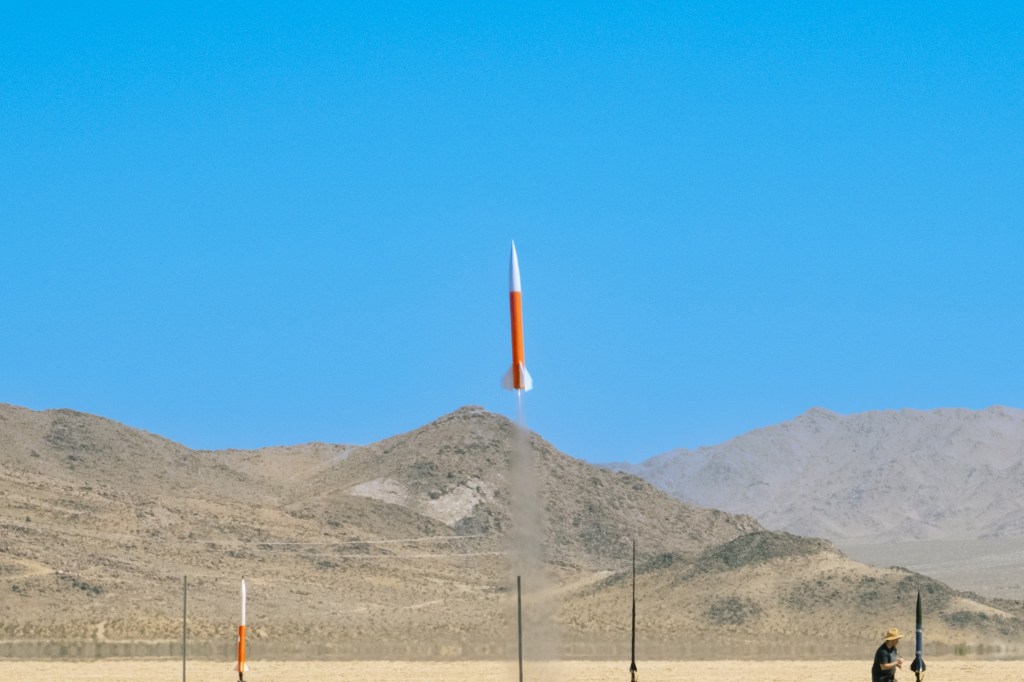
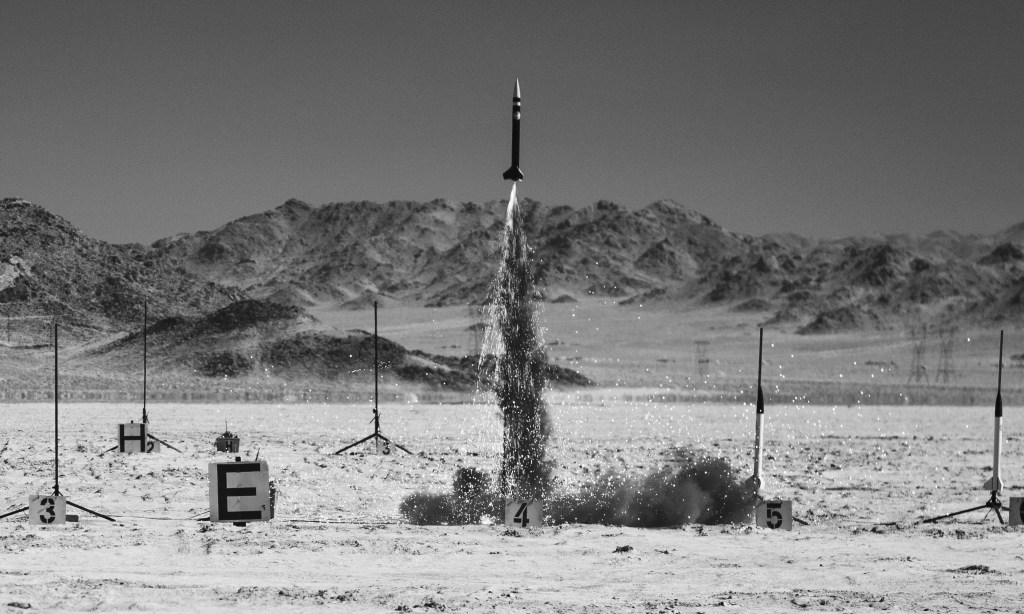
We are pleased to report that all three rockets successfully launched and were recovered with minimal damage. As a result, Sarah Wattenberg, Thomas P., and Gary Fussell earned their Level 1 high-powered rocketry certifications.
The results of Gary’s rocket, which carried the camera and altimeter can be seen here:
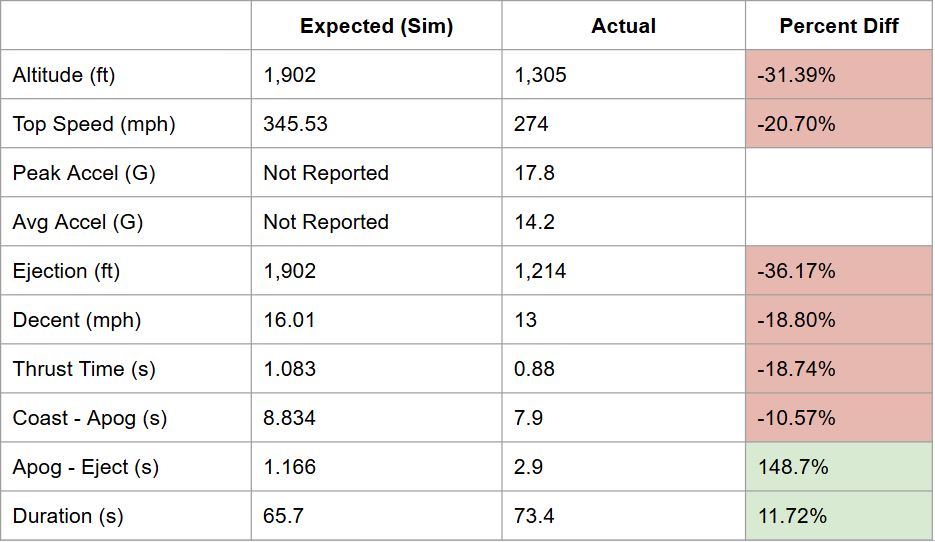
As you can see, the launch was quite a bit different from what we expected based on the simulations.
The largest difference occurred between apogee and ejection. We already have an article that goes into more detail about what may have caused these differences. You can read it here:
Pass, But At What Height? We Passed Our Certification, But Why Did Pleiades 1 Fly Lower?
What’s Next?
The follow-up to this flight will be Pleiades 3. It will carry a modified nose cone containing two altimeters so that we can better understand what may have caused the discrepancies we saw during Pleiades 1.
In addition to another flight in the Pleiades program, we are now moving forward with the preparation work for the upcoming Lambda program
The Lambda Program will build on what we have learned and what we will continue to learn from the planned Pleiades missions. It will eventually see members of the Dark Works team earning Level 2 high powered rocketry certifications using J, K, or L class motors.
Want to Replicate?
To make things easier for those who come after us, we have included links to some of our materials and a list of the equipment we purchased.
We hope these resources help you build your own rocket, avoid some of the mistakes we made, and improve upon our process.
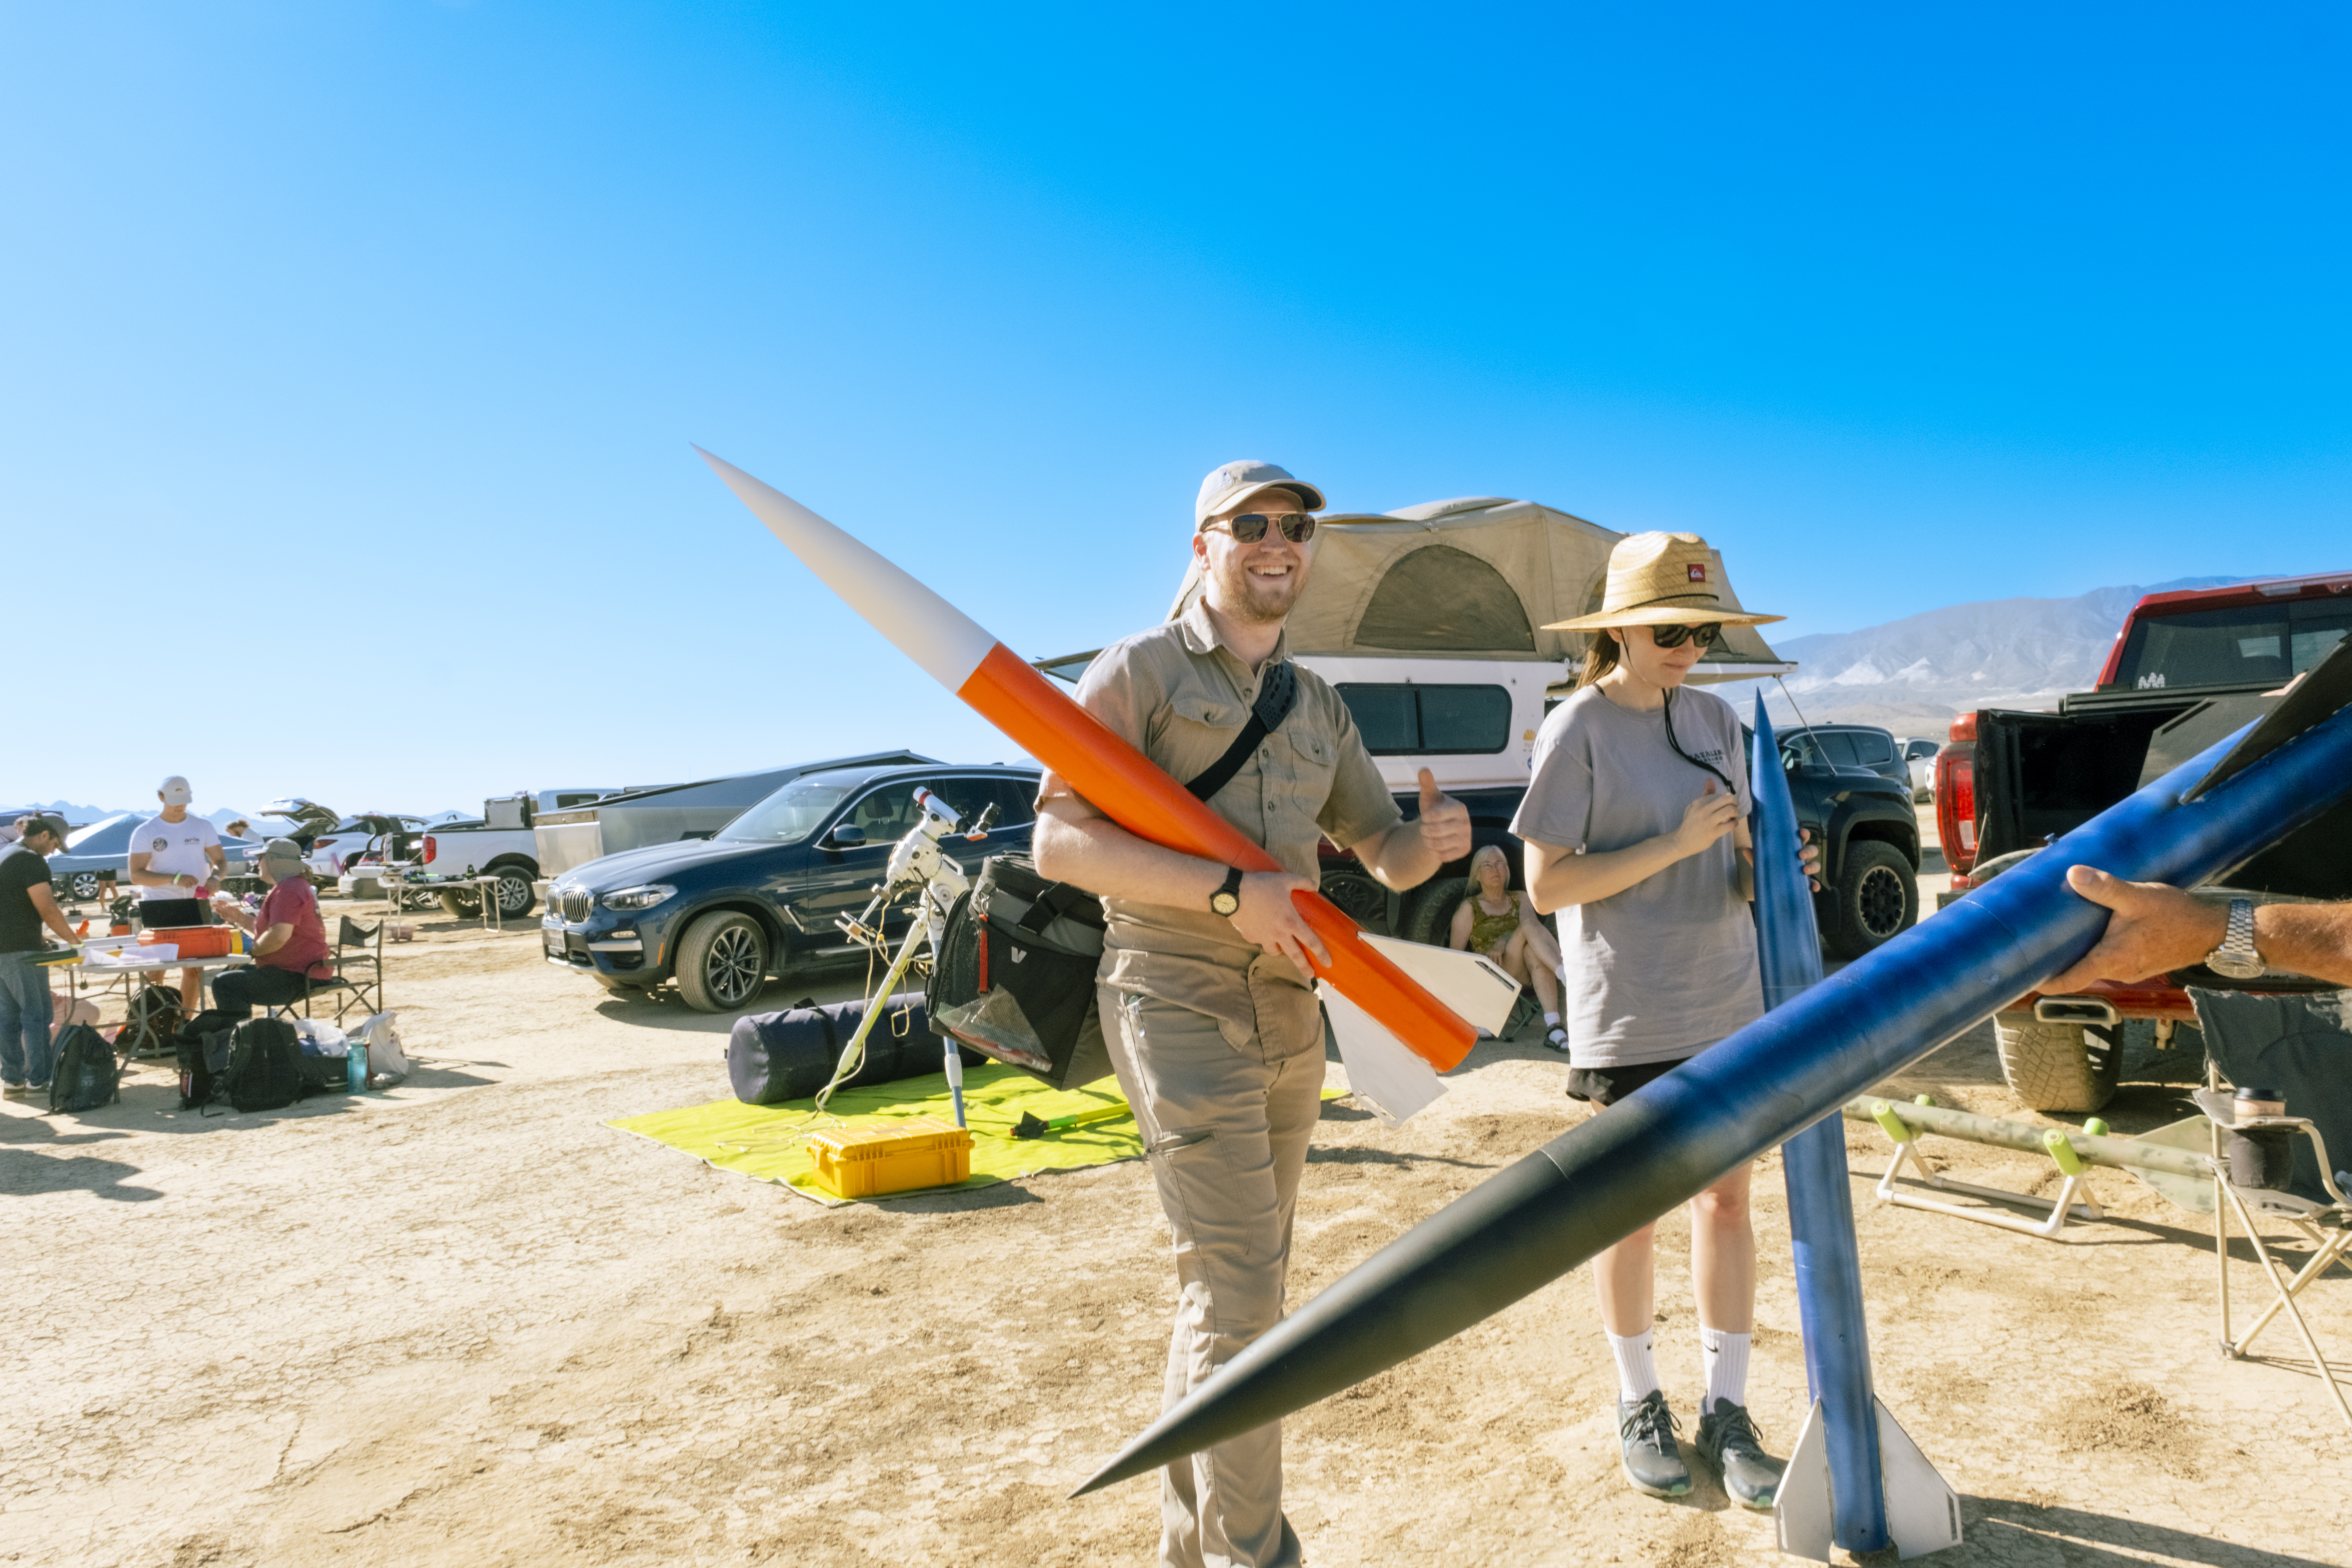
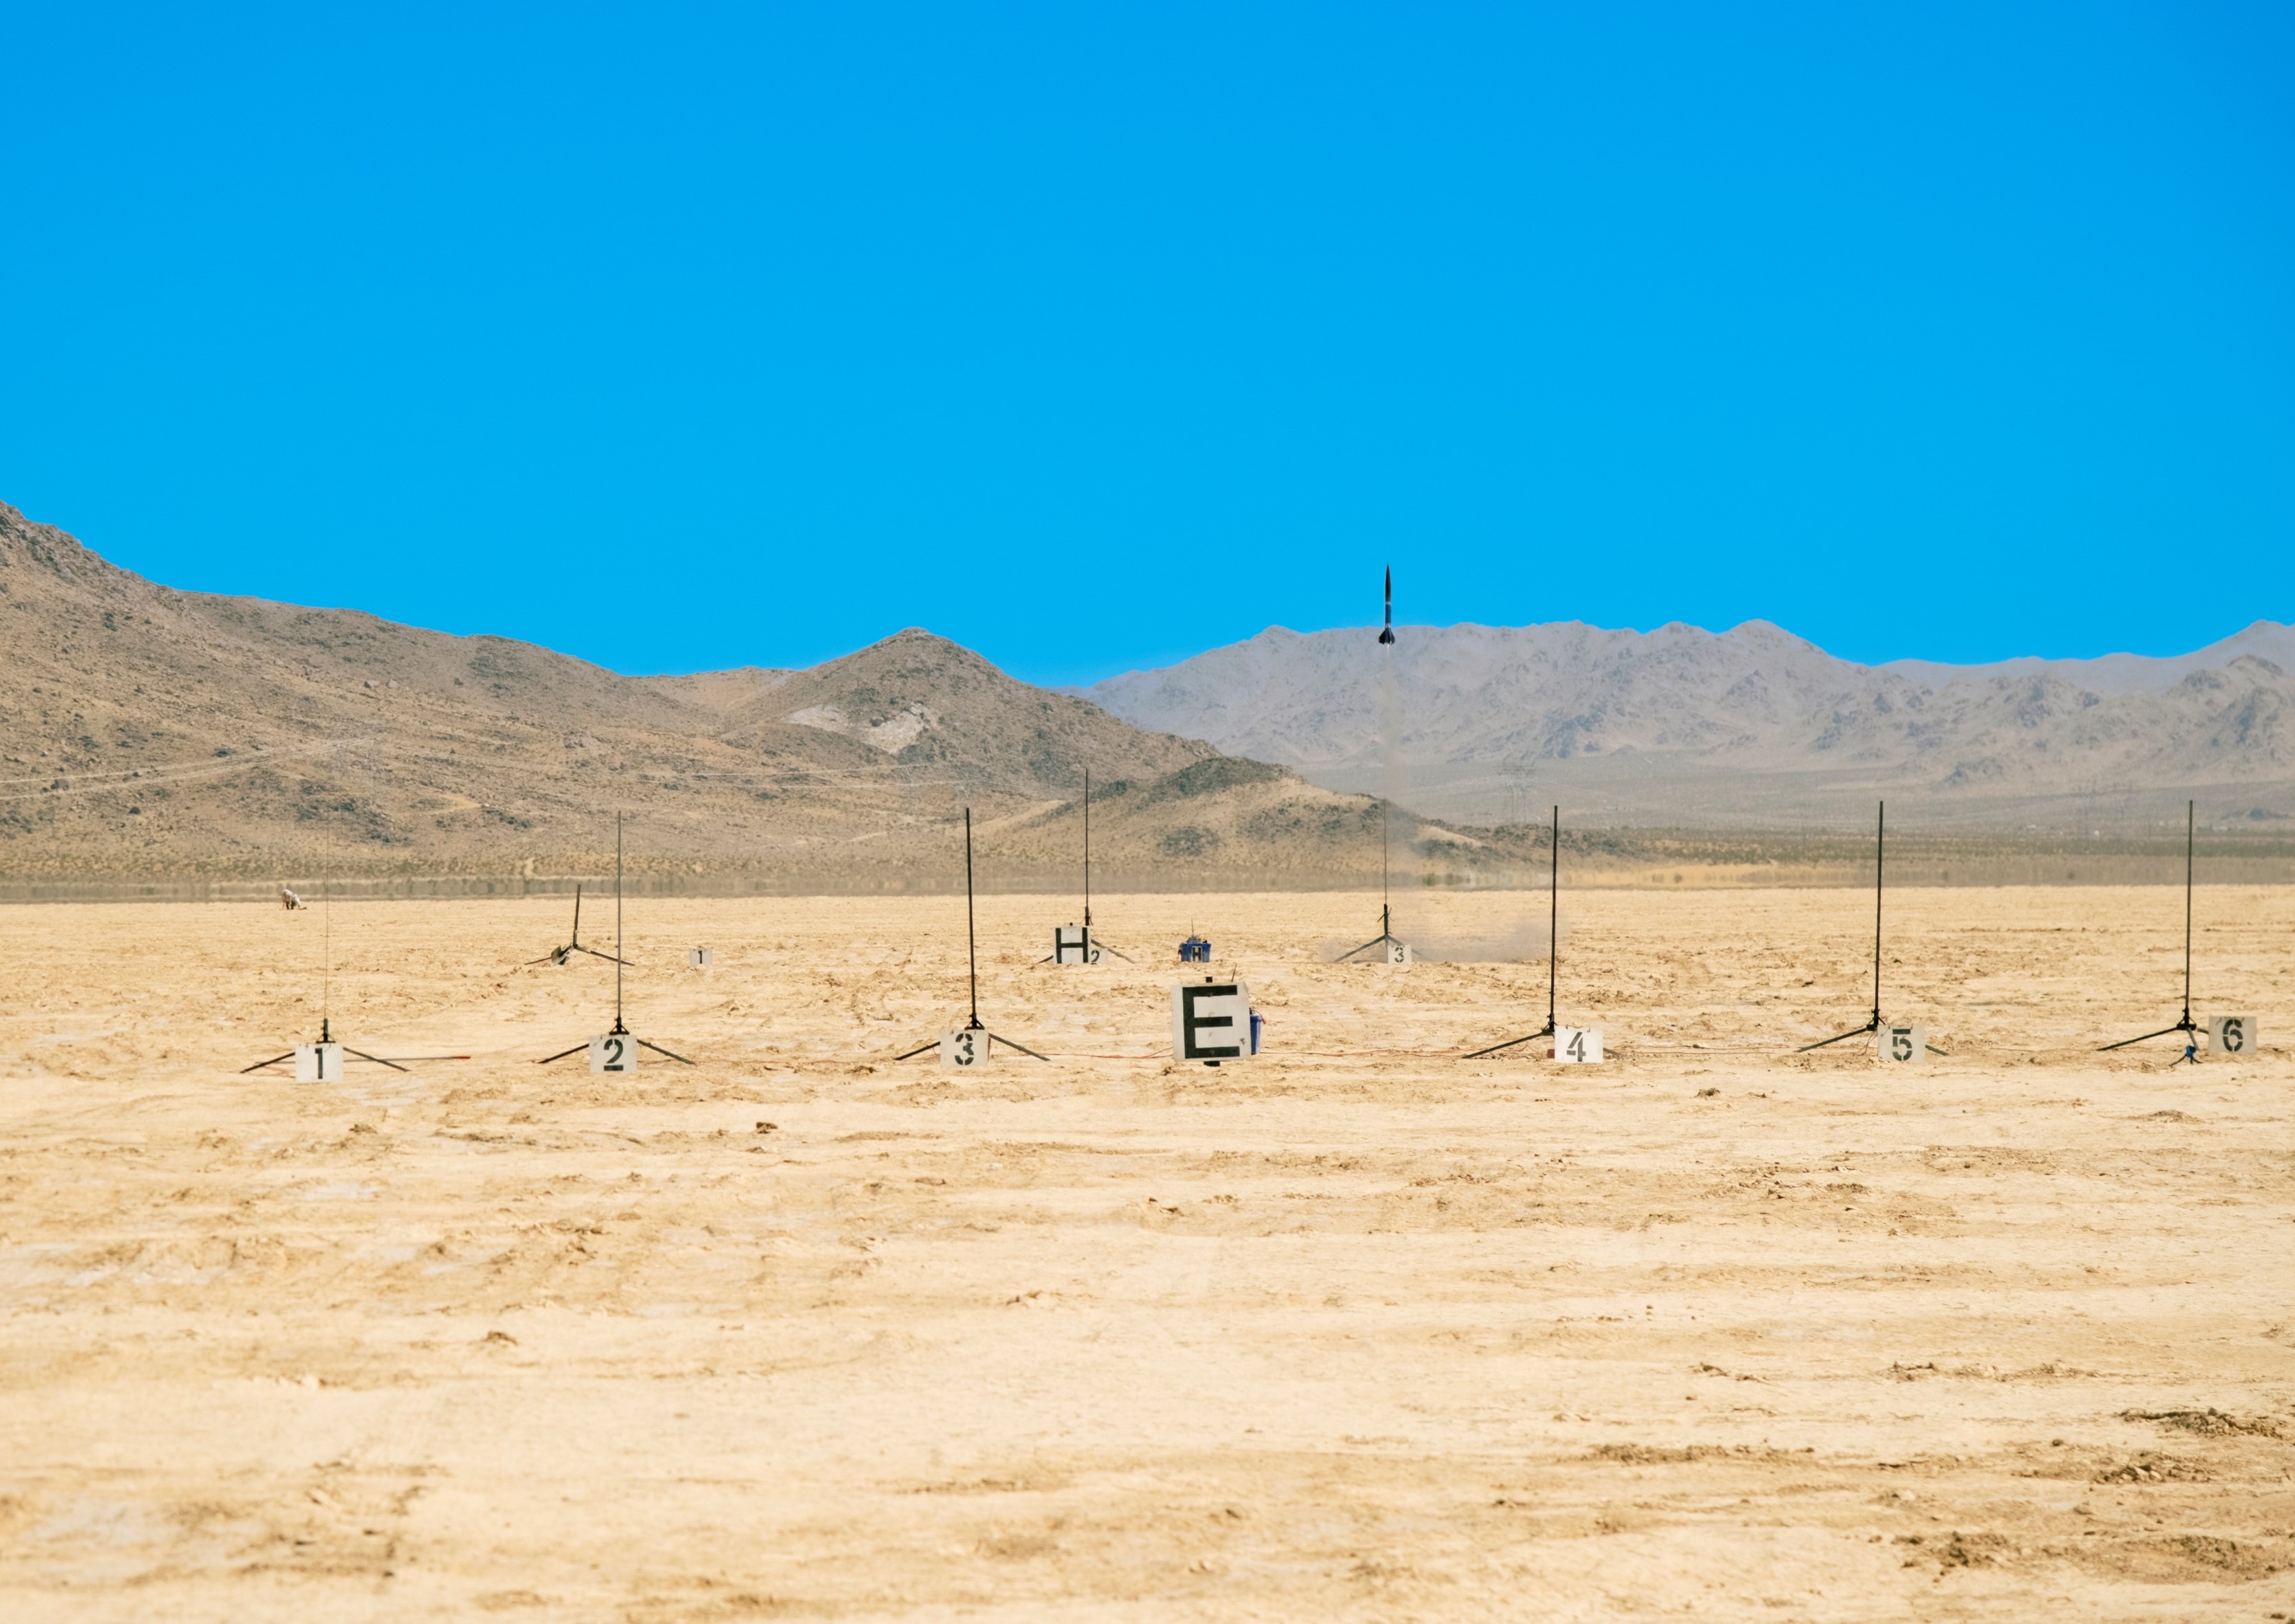
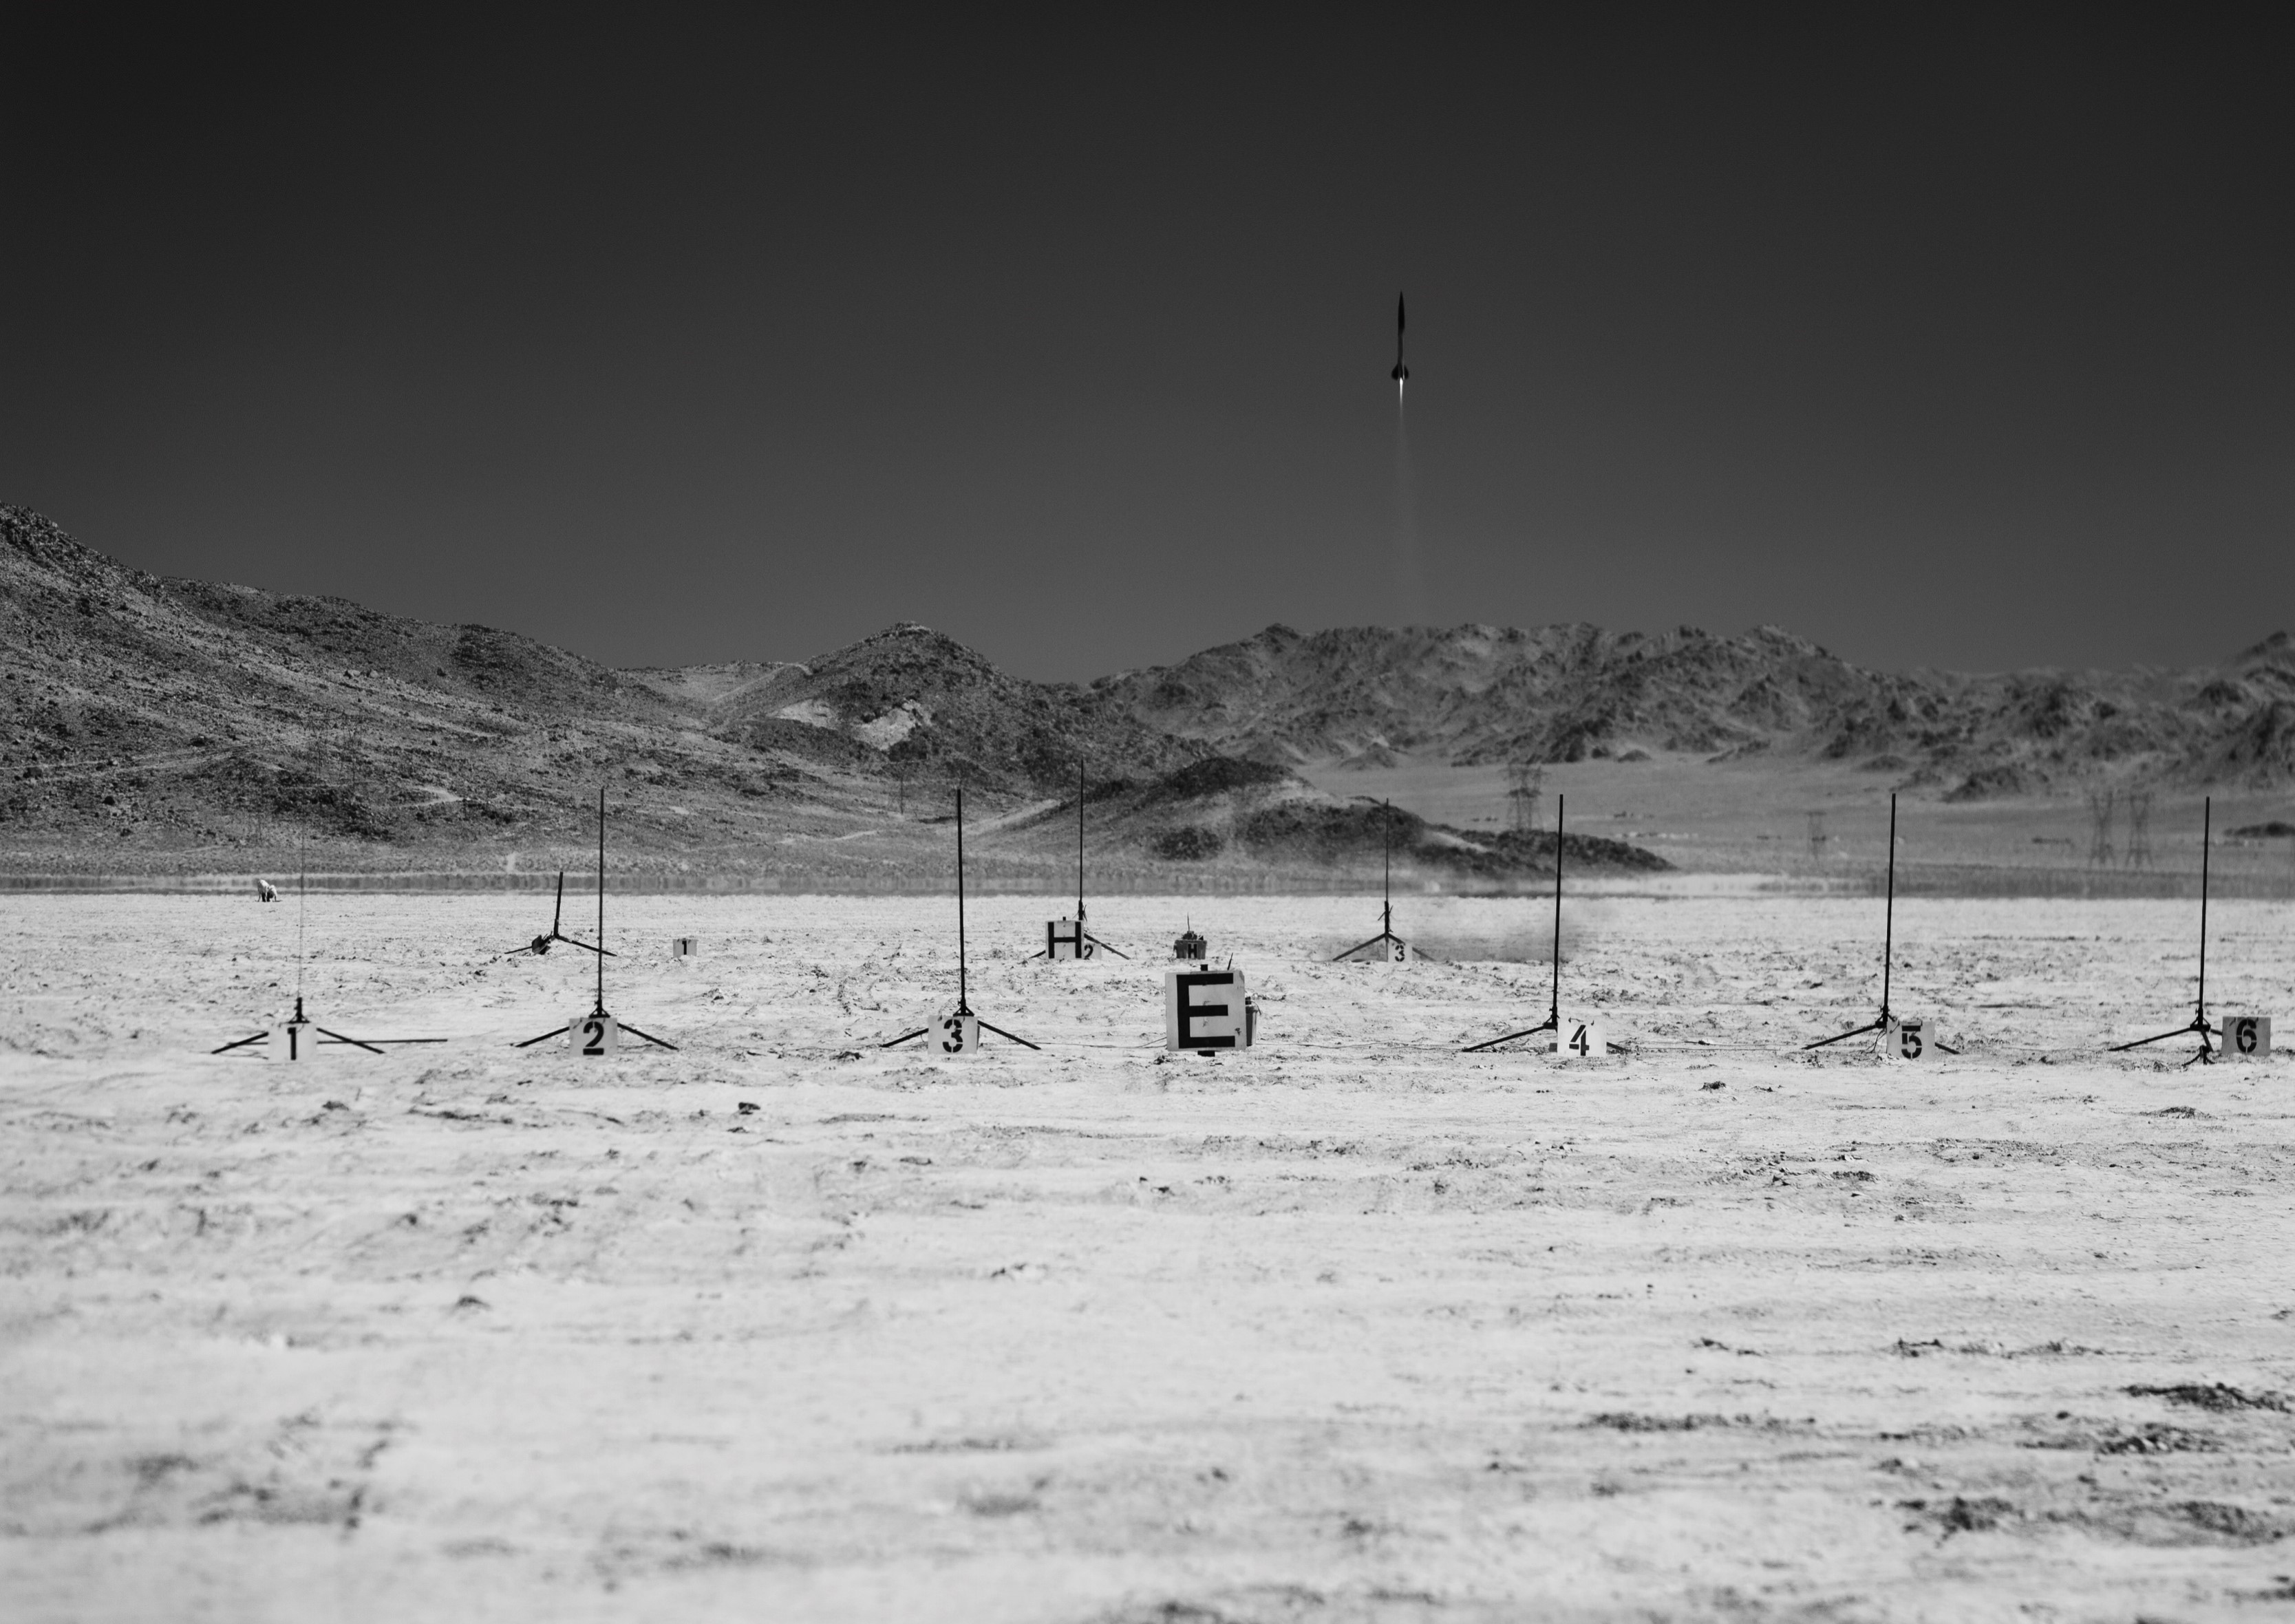
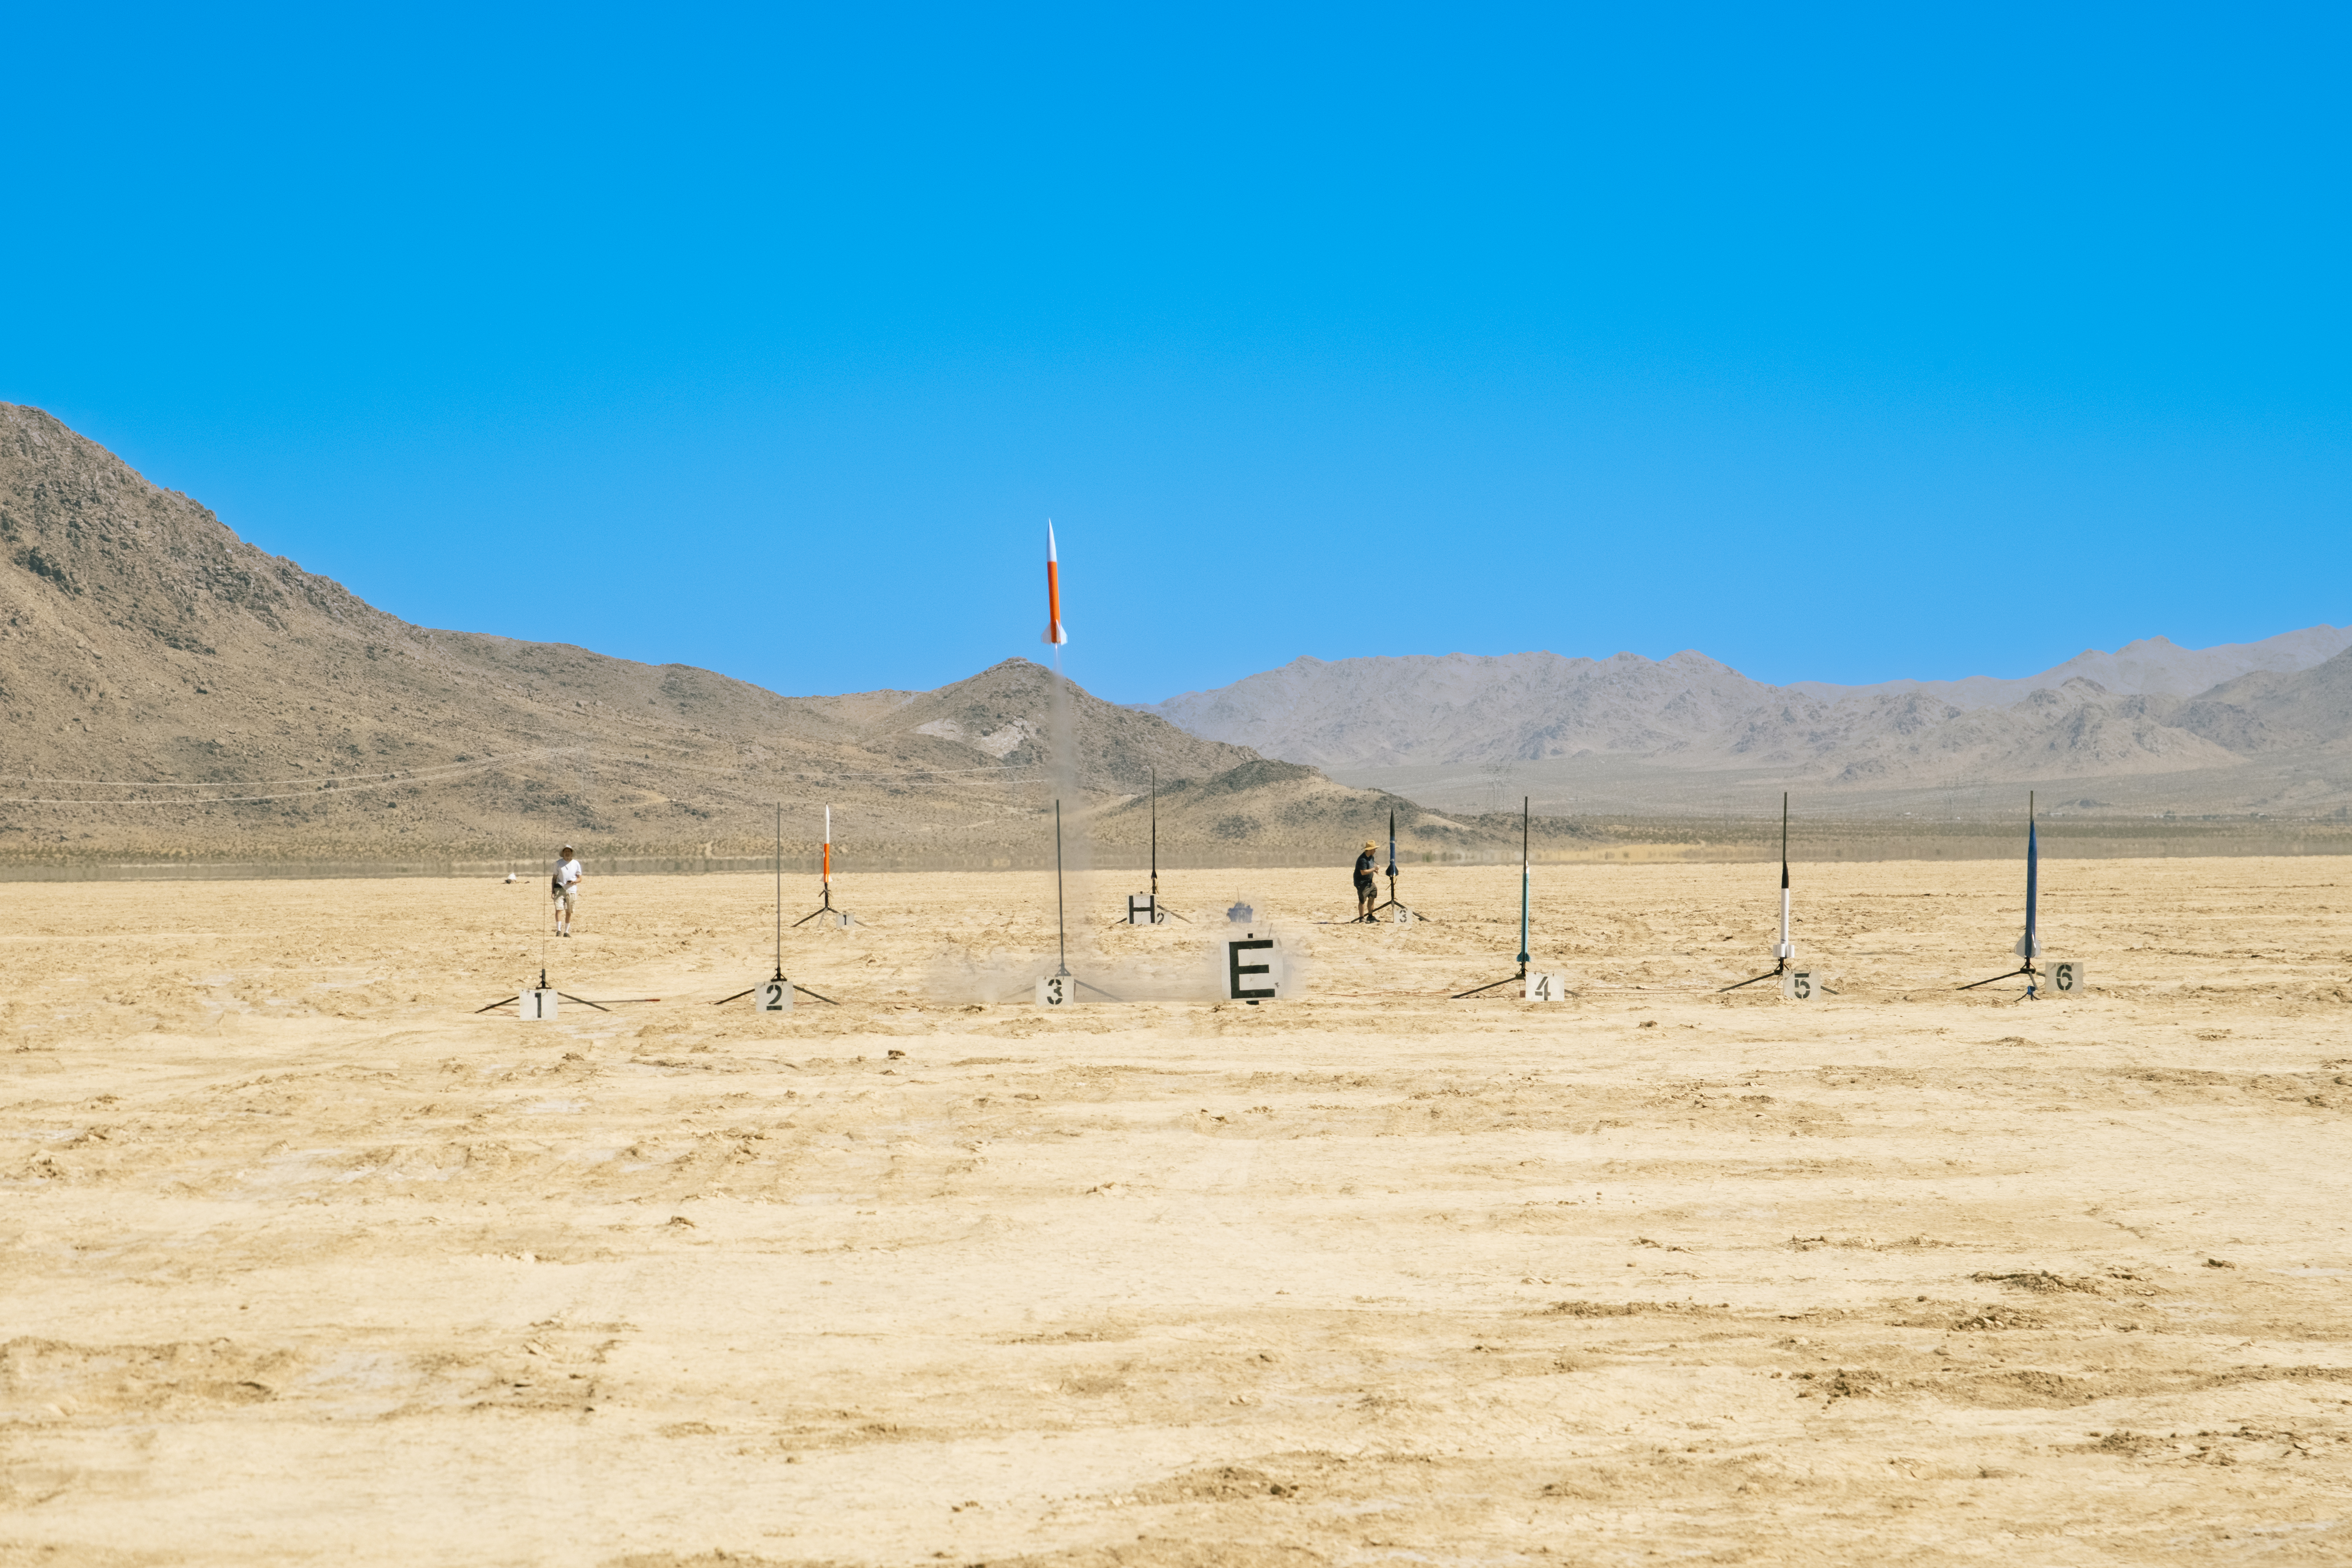
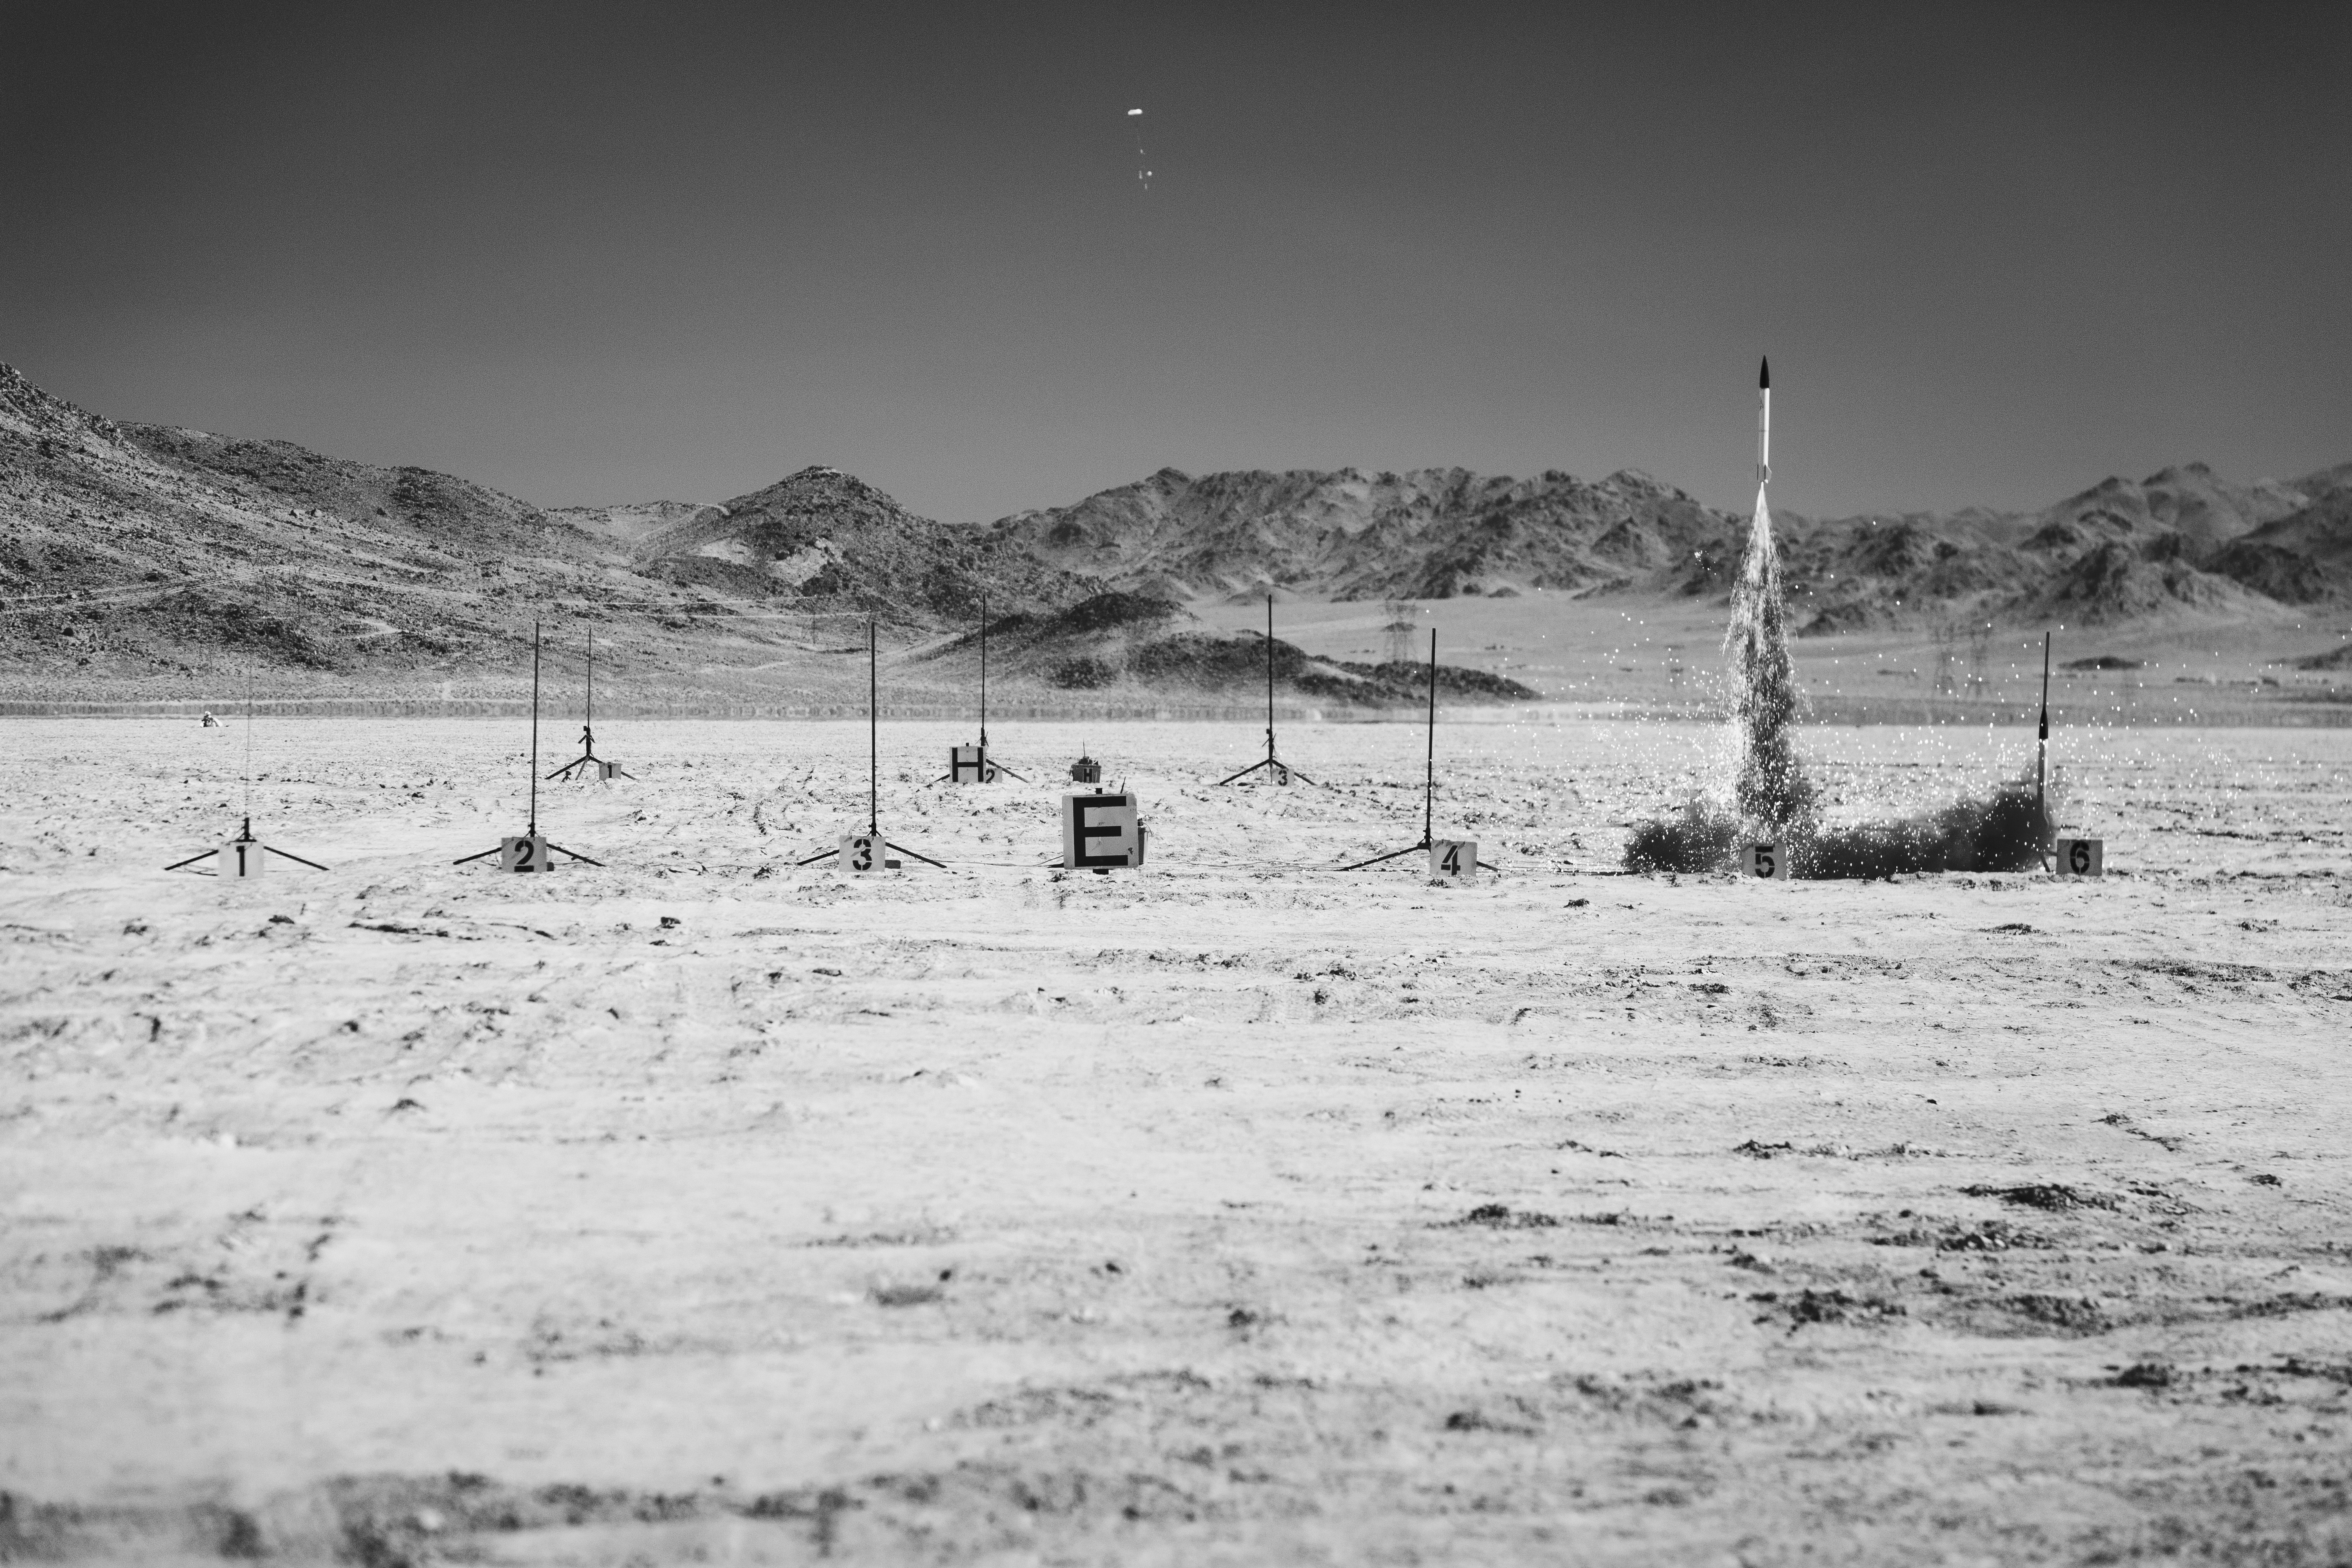
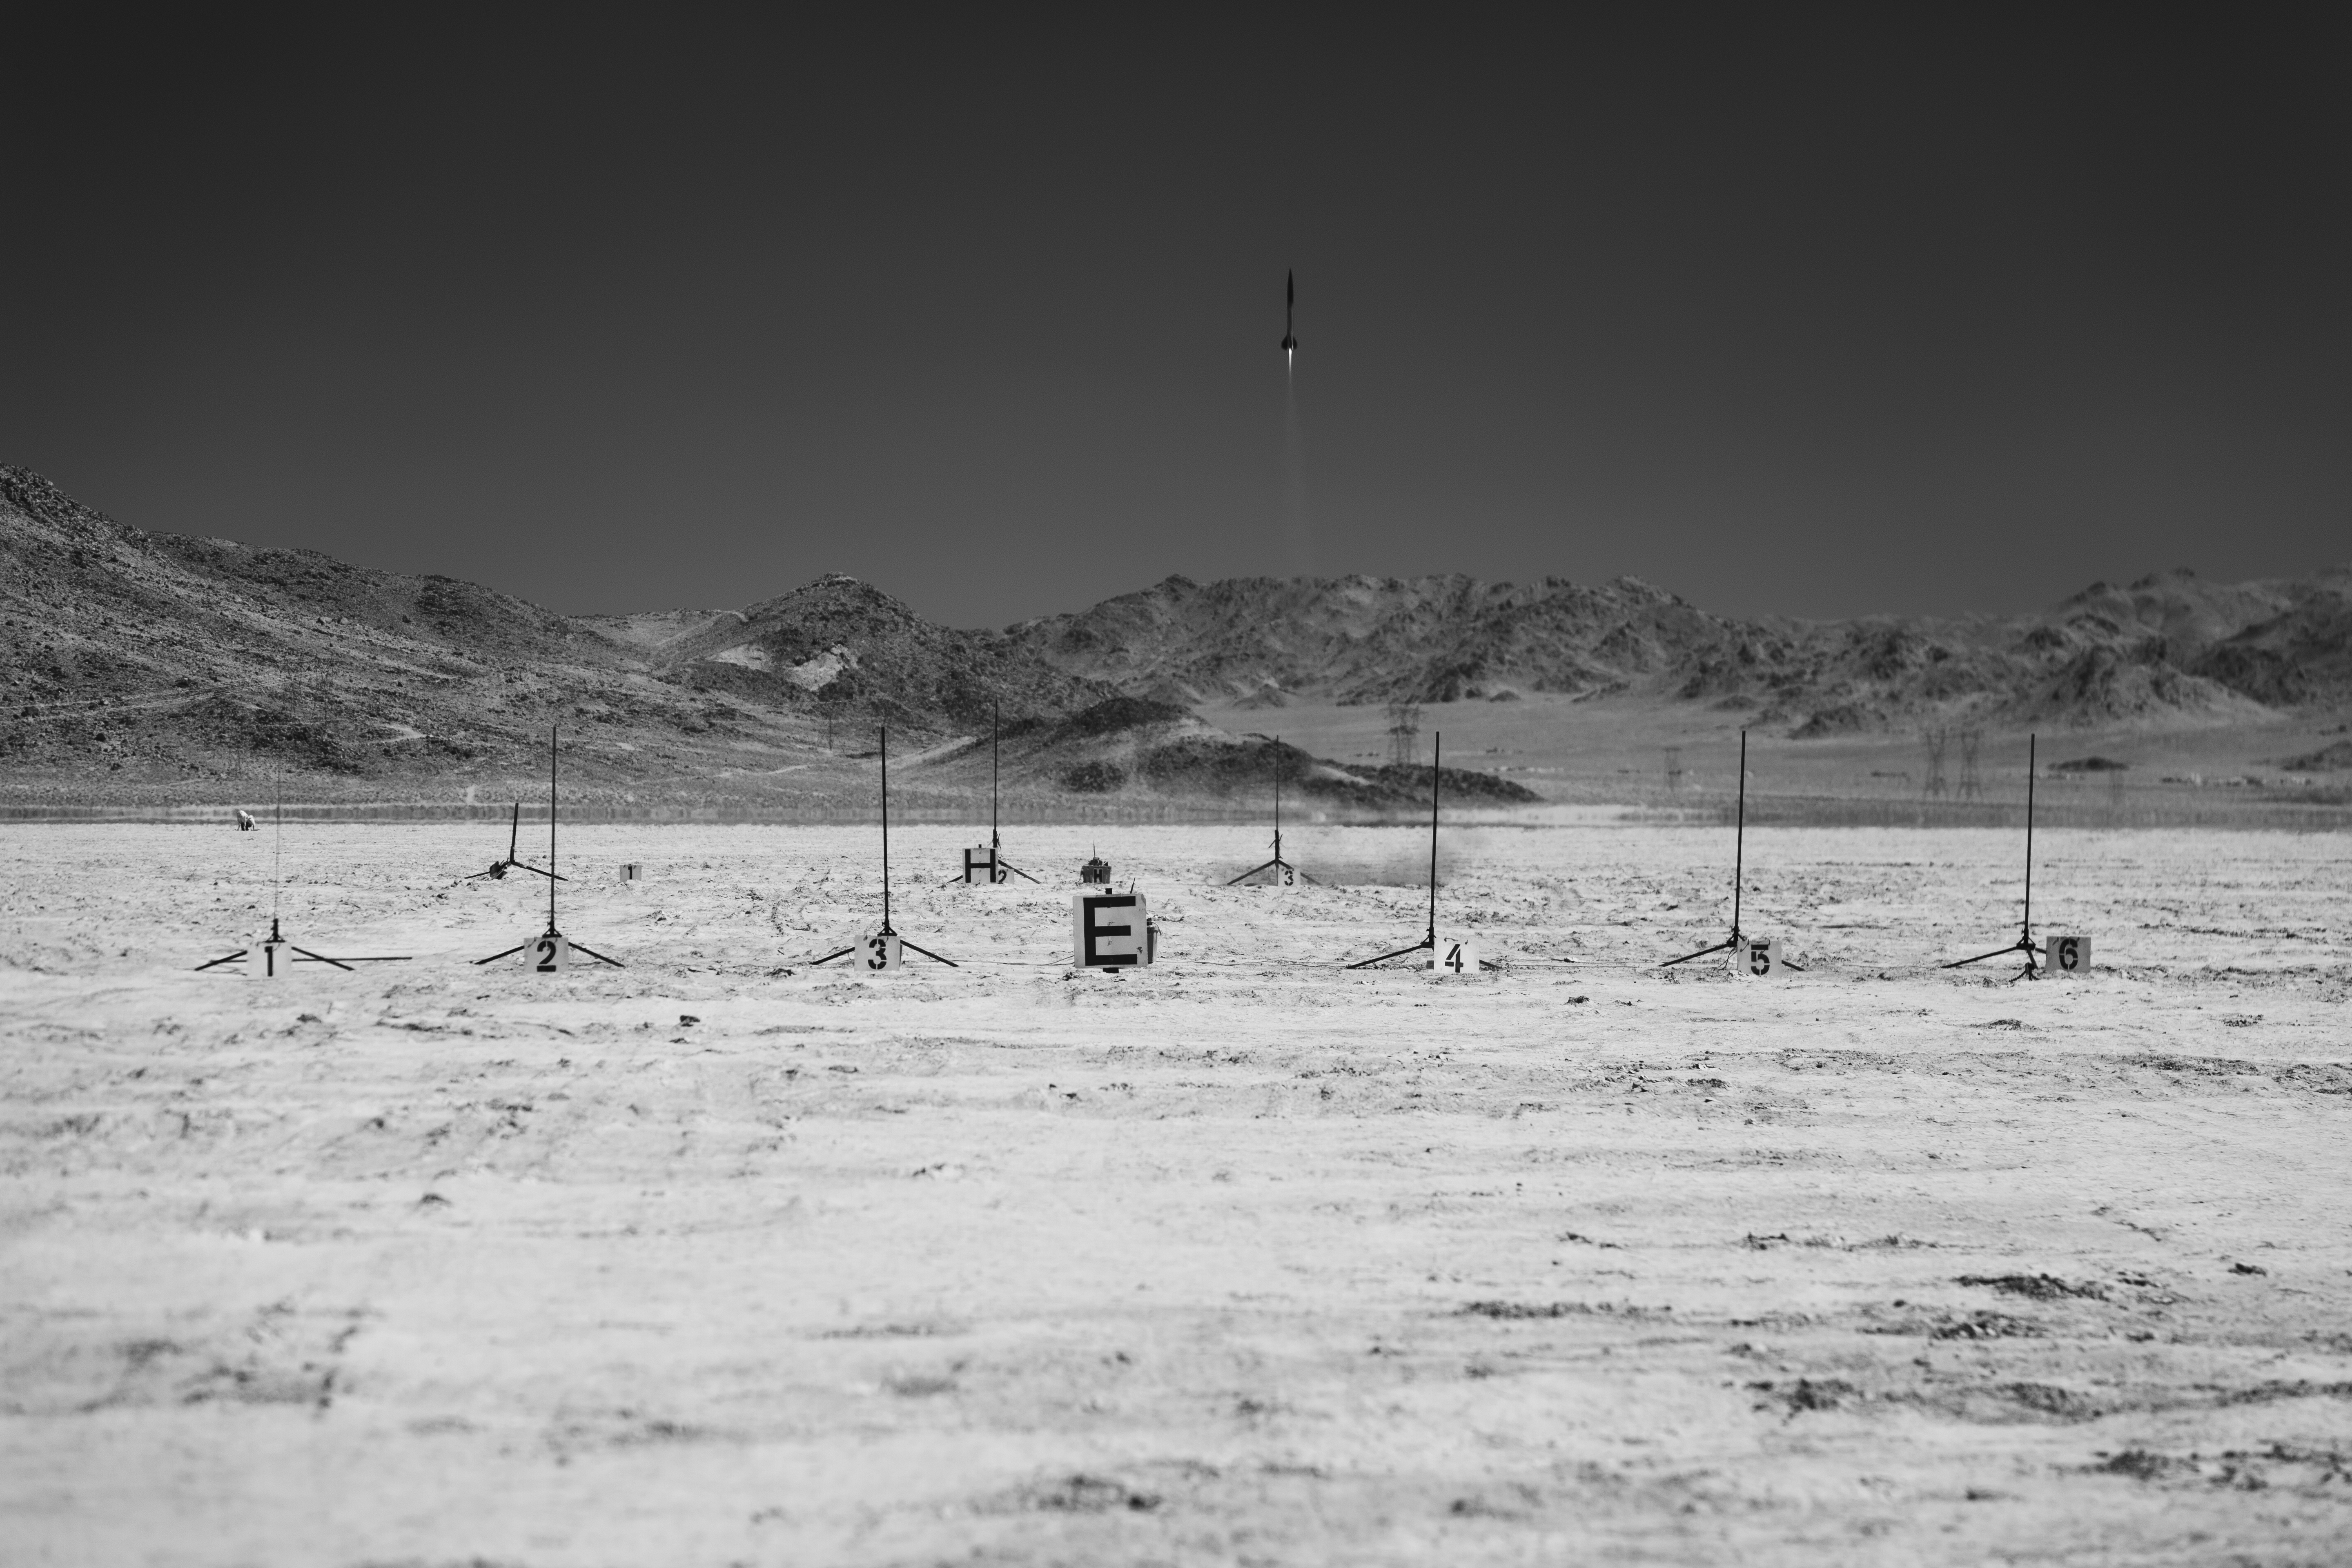
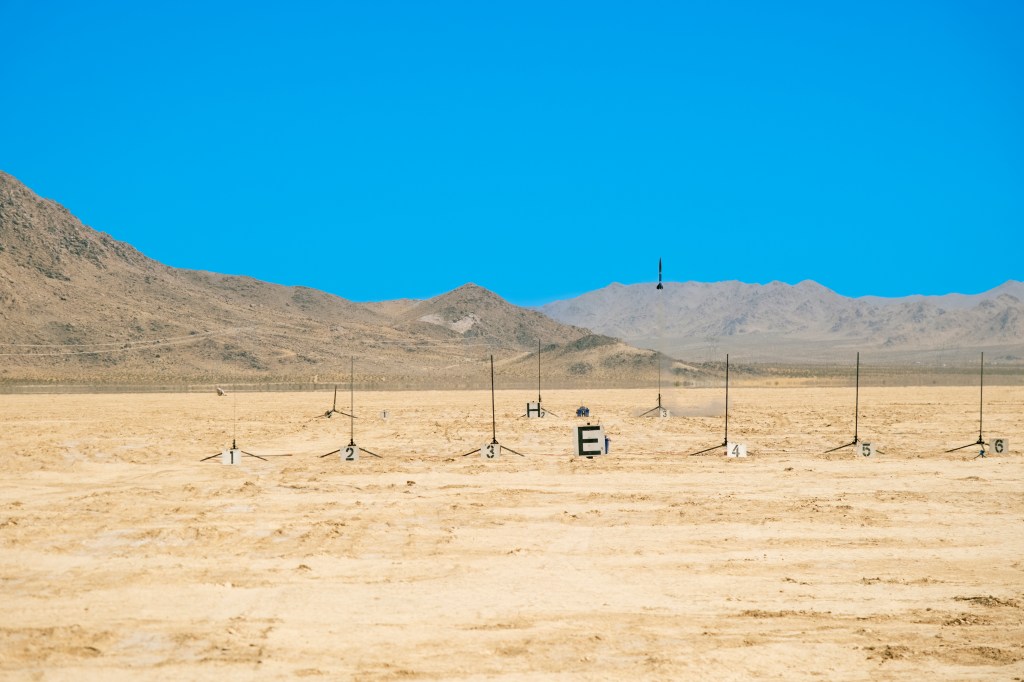
Launch Video and Pictures!
A very special thank you to Marvin Fussell: The Talkative Photographer, for the on ground images!



Leave a Reply